Cloudflare R2 和 shareX 联动 图床

从零开始搭建你的免费图床系统 (Cloudflare R2 + WebP Cloud + PicGo) · Pseudoyu
博友用这个搭建图床。感觉不错。
picgo能达成的我想 sharex一定可以达成。
多个备用的免费图床也是不错的。
说干就干。
sharex的教程不多。
只有官方的参考。不过挺详细的了。
如果不明白设置的其实参考picgo的也可以的
例如这个文章。Cloudflare R2设置部分十分详细。
segmentfault.com/a/1190000044911455

chrome_sujevhmL27.png
Cloudflare R2 guide - ShareX shareX官方配置文章
‘’## How to configure Cloudflare R2 and use it in ShareX

Make an account for Cloudflare.

Ensure that your domain is added onto Cloudflare and verified with NS (Name Server) records on your domain registrar. Your domain has to be hosted through Cloudflare otherwise this won't work at all, and you will be unable to use R2 / Cloudflare CDN to host your images.

While R2 is not free, it does have a generous free tier. The full pricing is available to see here.

To create a bucket:

  1. Open R2.
  2. Select Create bucket.
  3. Type in your bucket name of choice, and click Create Bucket.
  4. Select Settings.
  5. Scroll to Domain Access and select Connect Domain.
  6. Type in your domain and select Continue.
  7. Select Connect domain.

This will connect your domain to the R2 bucket, and will allow any objects inside of that bucket to be accessible by the selected domain.

To create an API token:

  1. Open R2.
  2. Select Manage R2 API Tokens on the right top side of the dashboard.
  3. Select Create API token.
  4. Select the pencil icon or R2 Token text to edit your API token name.
  5. Under Permissions, select Read or Edit for your token.
  6. Select Create API Token.
  7. Save a copy of your Access Key ID and Secret access key for the next step.

To configure uploading with ShareX:

  1. In Destinations, select Destination Settings.
  2. Scroll down to Amazon S3 and select it.
  3. Using the Access Key ID & Secret access key fill in the two top boxes.
  4. Select "Endpoint:" and type <ACCOUNT_ID>.r2.cloudflarestorage.com. (you can find your account ID on the right hand side of your Dashboard)
  5. Set Region: to auto.
  6. Fill Bucket name: with the Bucket Name you picked on Cloudflare.
  7. Change Upload path: to your preference.
  8. Update Use custom domain: to the domain that you selected in the first step.
  9. Untick "Set public-read ACL on file".
  10. Ignore the rest of the settings.
  11. In Destinations, select Image uploader: and change it to File Uploader -> Amazon S3.
  12. Take a screenshot, and ensure that it uploads correctly.

Now you are ready to use Cloudflare R2 in ShareX!
‘’
ShareX_bG4M5PcYoi.png

ShareX 剪贴 序号标记 加水印 上传图床 生成markdown图片地址 一条龙服务

运行环境
win10 ltsc
ShareX-13.7.0-portable 所有功能都能正常使用
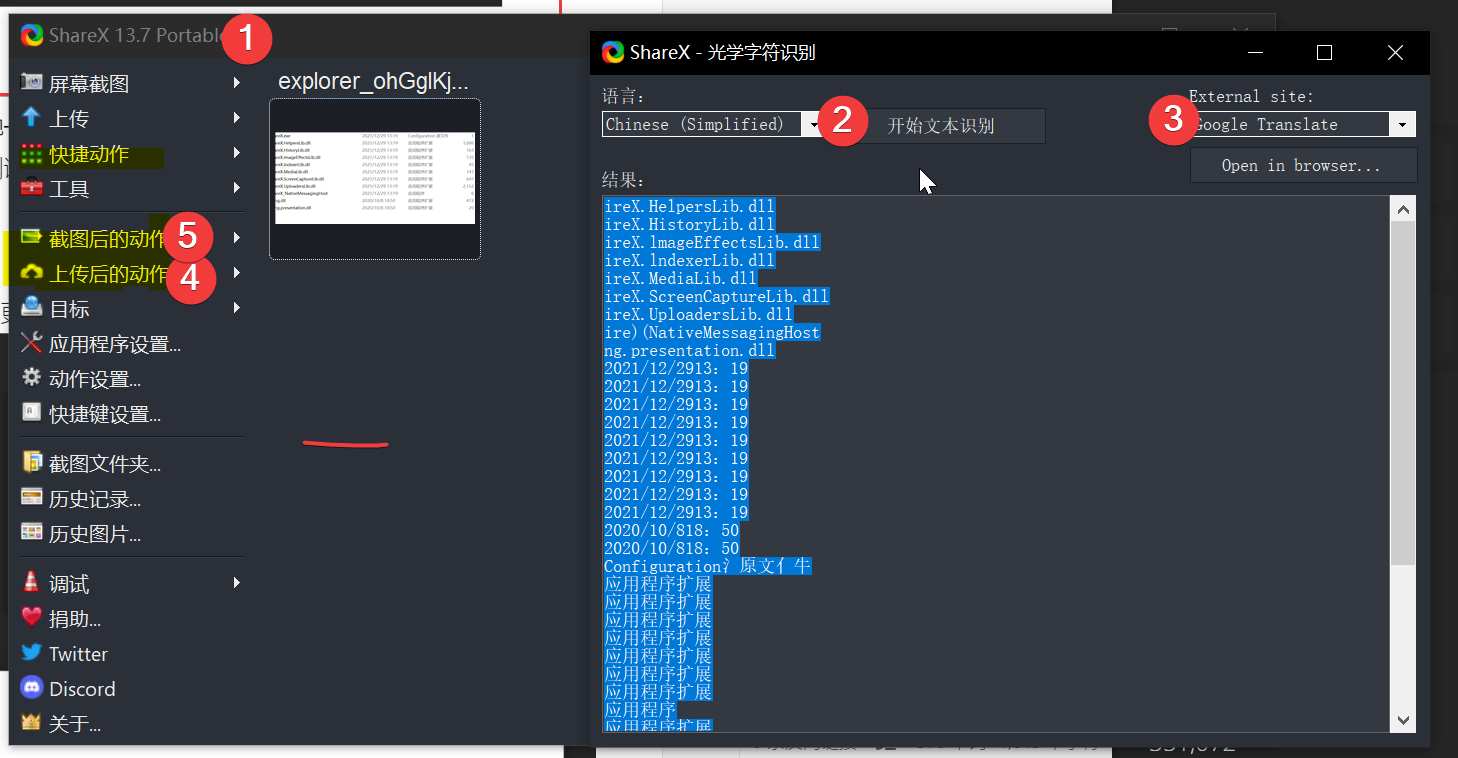
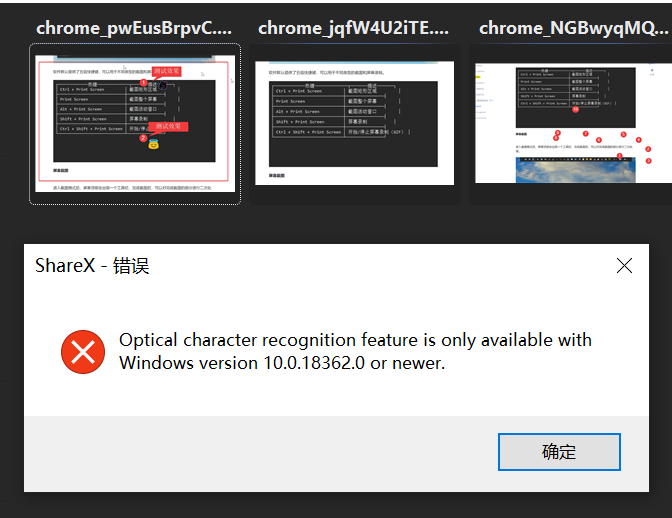
ocr ShareX-14.0.0-portable 就不支持我的这个系统版本了。
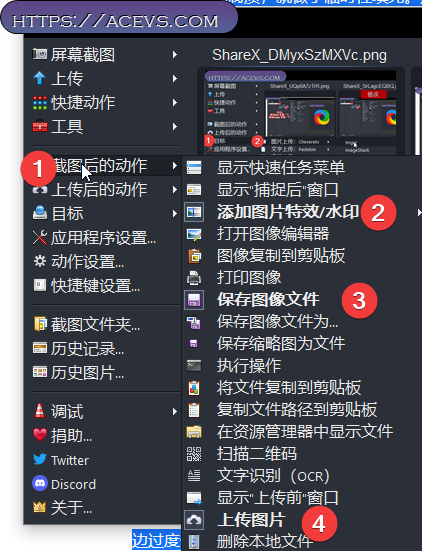
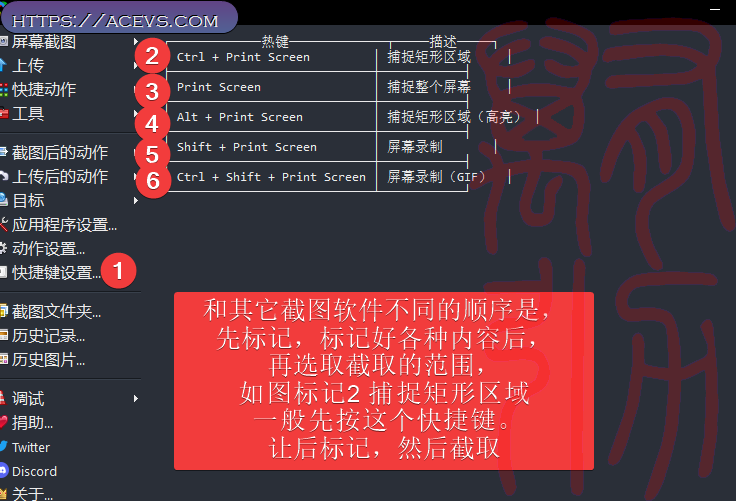
截屏顺序提示
image.png

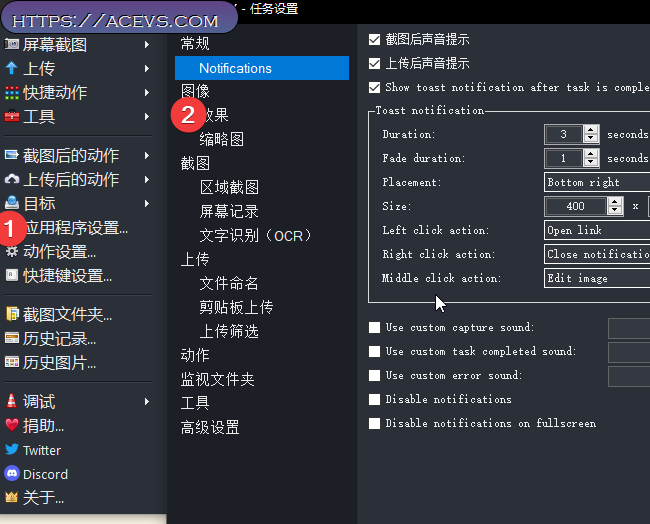
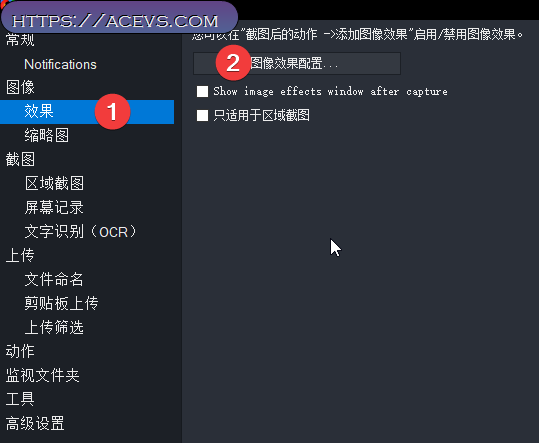
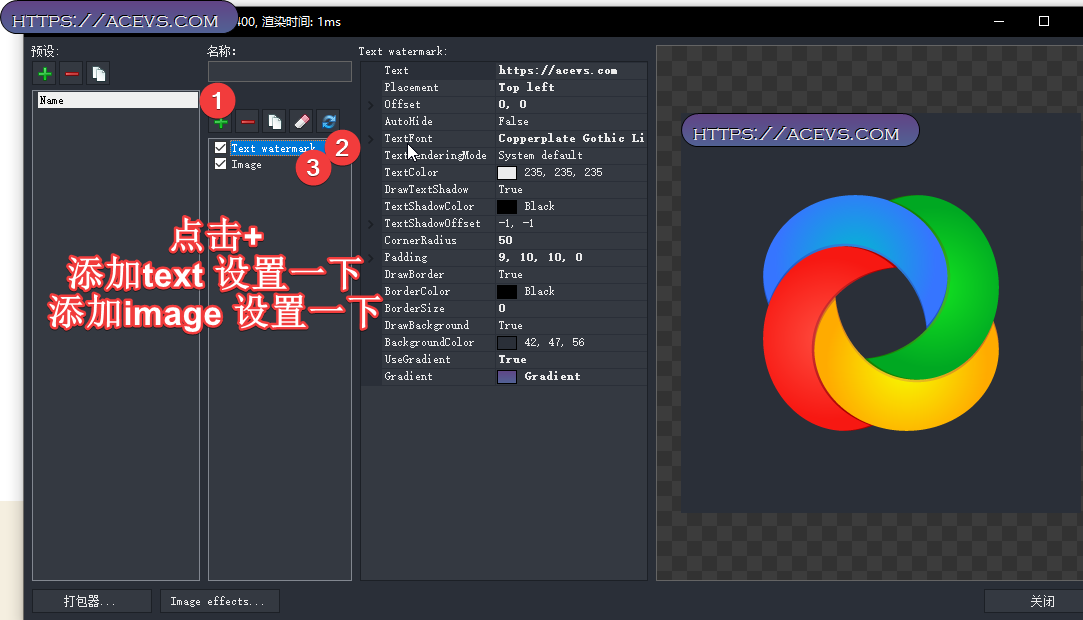
增加水印 1动作设置 2图像下面的效果

image.png

点击这个地方
image.png

ch.acevs.com/image/sharex-uqp6a7ztrr.WptW

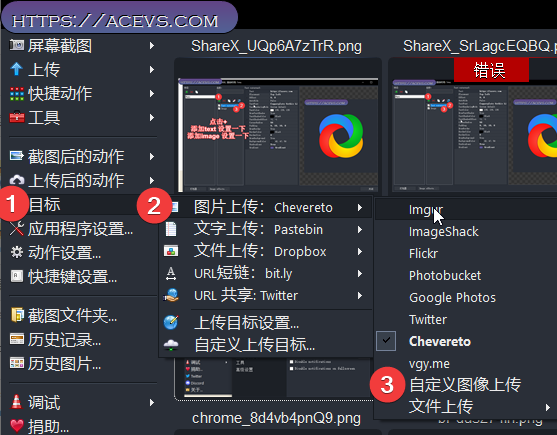
上传图片到网站
image.png

七牛云配置参考 其他可以自行搜索.

{
  "Name": "qiniu",
  "DestinationType": "ImageUploader, FileUploader",
  "RequestType": "POST",
  "RequestURL": "http://up-z2.qiniu.com/",
  "FileFormName": "file",
  "Arguments": {
    "token": "这个替换为上面生成的token",
    "key": "%y%yy%d%h%mi-%ra.png",
    "file": "$input$"
  },
  "ResponseType": "Text",
  "URL": "http://七牛云临时域名或你自己的域名.com/$json:key$"
}

ShareX 强大就是多了动作,每个操作后面都可以自动添加某个动作.
比如截图后添加水印如图 上传图片 保存图片 这些都可以选择
image.png

平时随意截个图不想上传,一次性的.也不想保存
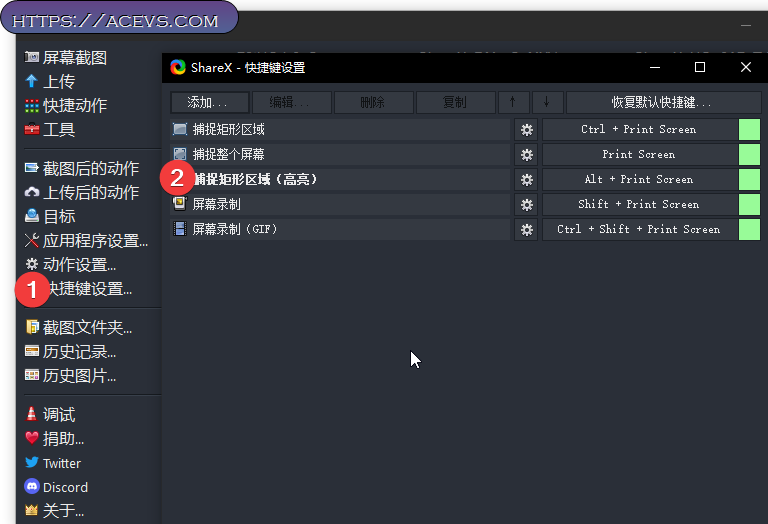
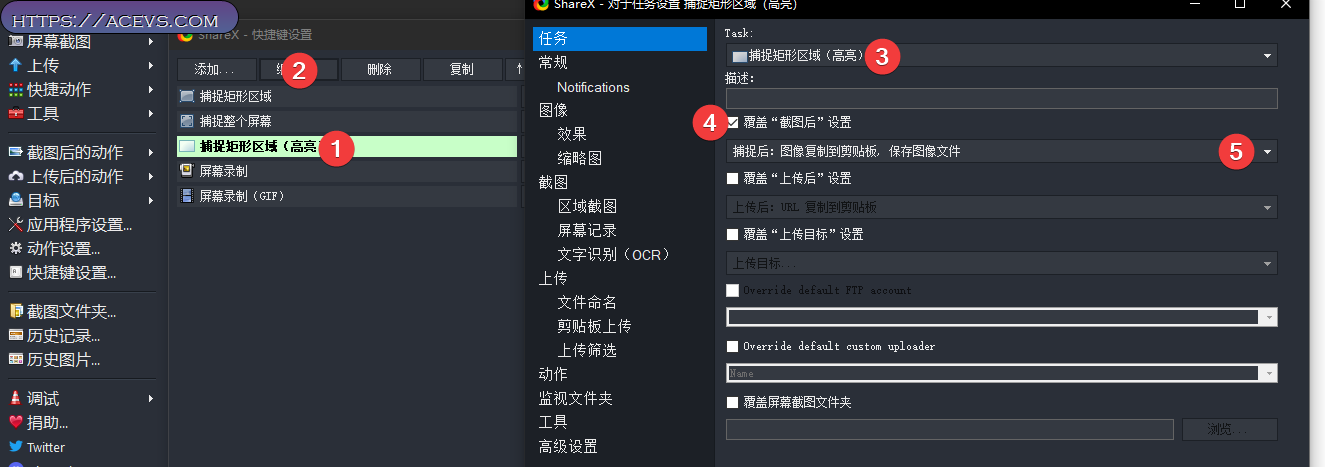
可以设置快捷键区分 如图
image.png

设置图中这些就行 不会上传了.
ch.acevs.com/image/chrome-oqjo9jb5gv.WE0f

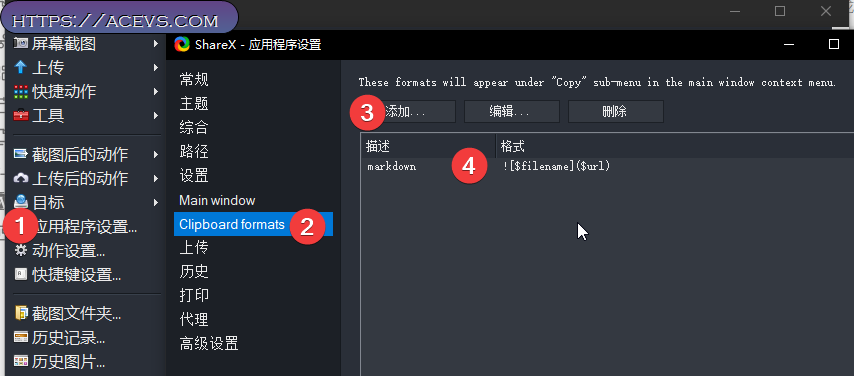
生成markdown链接到剪贴板
obsidian没有sharex的插件.不过sharex 自己够强大,不用对接.实际使用有点小问题.可能是我版本问题.不过,一想到.all in one 感觉.可以继续适应学习.
image.png

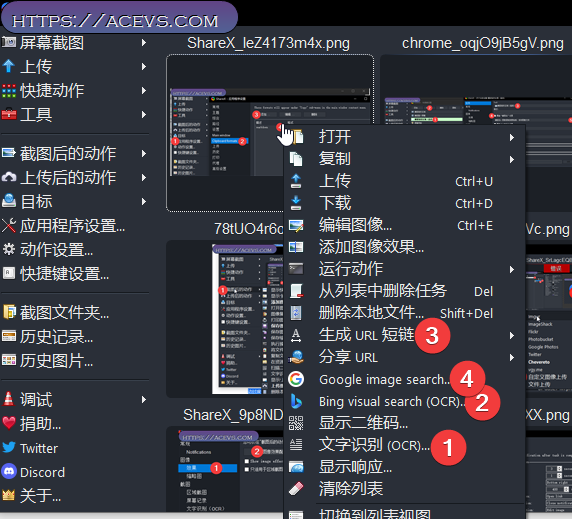
到此完成了 截图工具 上传图片picgo的功能 生成markdown 图片地址 obsidian插件的功能.增加水印的功能.截图后还有ocr识别 有google等网站可以选择.安装ffmpeg后还能录屏. 输出gif
还有一系列排列组合的动作功能.虽然有瑕疵,比如markdown那个复制第一次正常,第二次就是不对的.可能插件冲突.我关闭了.picgo for obsidian插件.
image.png

后续继续测试看看有啥问题.
这个便携版本配置好 装到u盘,可以在其他电脑上稍微调试就能用了。不用安装。

参考文章
ShareX 教程01 | 应用程序设置 - 少数派
Markdown福音:ShareX自动上传截图并获取外链 - 简书
Site Unreachable

自古套路的人心-寻找截图软件,意外发现picgo的对手

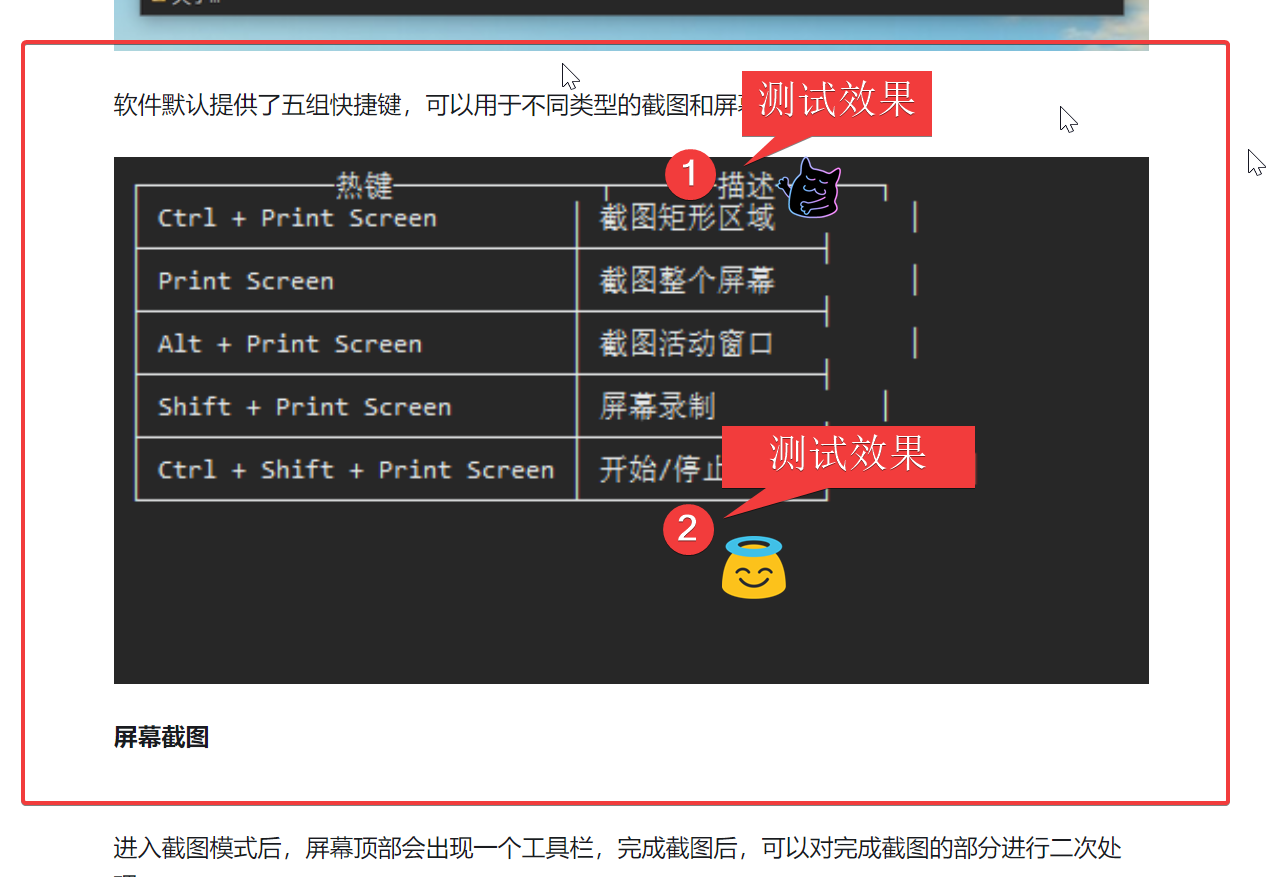
手动清理C盘的空间 | 瓦解的生活记事 看这个文章发现截图不错。必定截图软件不错。w4j1e 之前估计也和我说过qq截图。我不以为然。见识后确实不错。不过得挂qq.
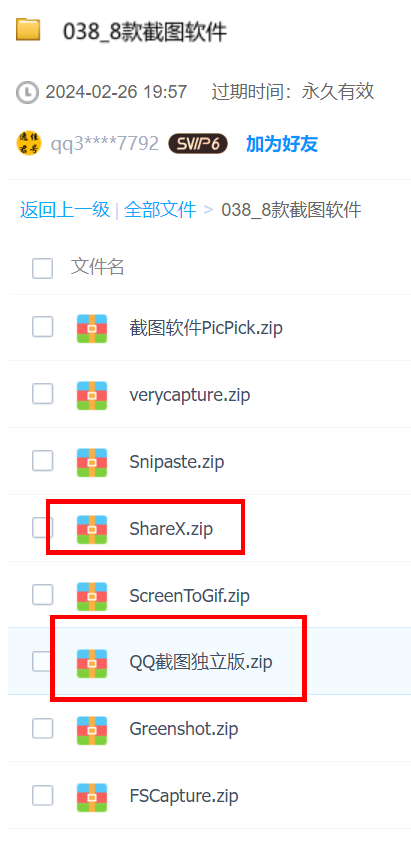
然后我去去搜搜。知乎这个文章,写的不错。作者还主动提供网盘下载文中测试的所以安装包。我选择几个看上去不错的下载。sharex qq截图独立版。pixpin
872e9330-9a4a-4933-9c51-28cdf98d131d.png
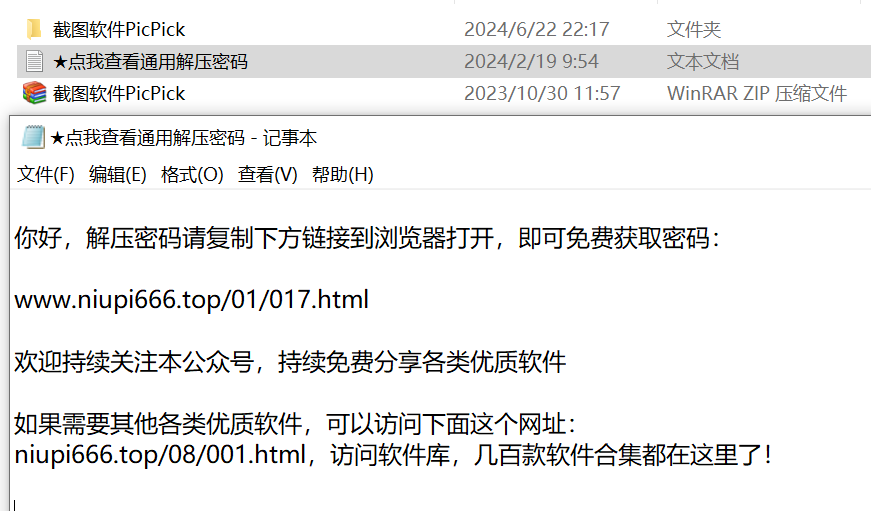
噩梦开始。
image.png
然后访问网址
image.png
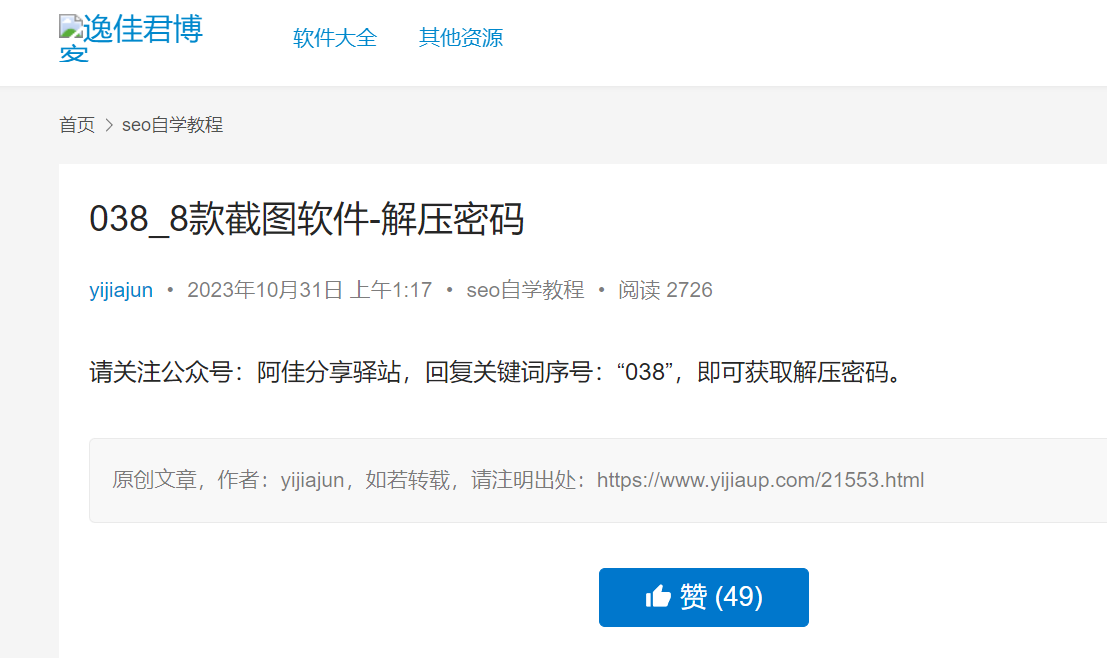
然后关注公众号,回复038
解压密码是77889900
image.png
压缩了3次以上。我也不想安装了。直接搜索软件名取官网下载。
删除作者共享的下载文件,
取消关注公众号。
这个作为赢利模式无可厚非,闭环效果好。
另外的两个软件官网
ShareX - The best free and open source screenshot tool for Windows 截图逻辑快捷键不太适应,其他还行。强大
image.png
缺点ocr识别 不能用 win10ltsc 测试了一下 其他版本
Downloads - ShareX
13.0.7可以用ocr google翻译。如下图
image.png
另外 sharex完全可以替代picgo链接图床。这个软件复杂的菜单,就让我对它遐想连篇。果然有料。还有很多工具,快捷动作。可以替代不少软件。继续适应适应适应。
image.png

image.png

14.0之后的 15 16 需要win10版本更新。
image.png

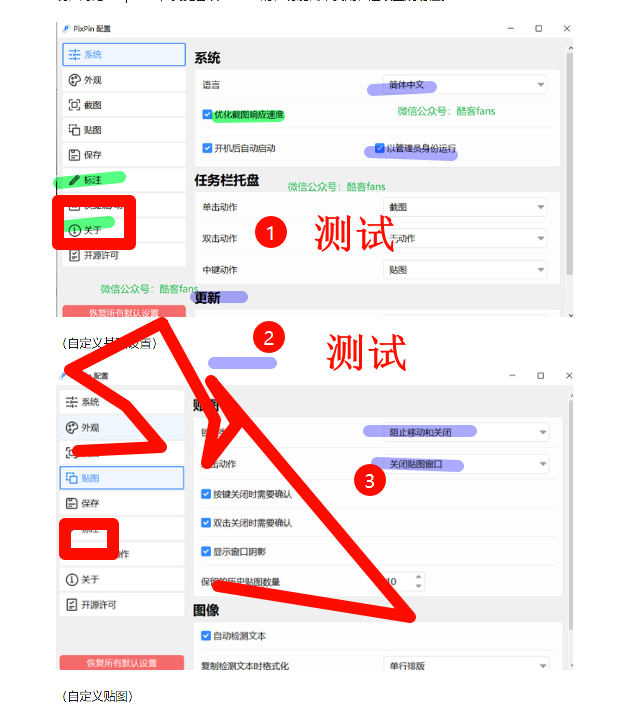
PixPin 截图/贴图/长截图/文字识别/标注 | PixPin 截图/贴图/长截图/文字识别/标注
image.png

截图ocr识别也可以。
看来 quiker 我可以考虑卸载掉了。继续适应适应。
qq截图独立版下载 QQScreenShot(QQ截图)提取版 v3.0 中文绿色最新版 含PaddleOCR 下载-脚本之家
这个是个bat 担心不好卸载 没敢测试。
win10系统QQ截图的开机启动项qqscreenshot.exe怎么关闭?金山毒霸提供解决方案

最后,那个作者的文章不错。但是千万别用它提供的网盘套路链接。
zhuanlan.zhihu.com/p/685155599

lsky兰空图床安装在ds3617上

安装环境不同.失败告终.

https://zhuanlan.zhihu.com/p/544546775 方式和上面类似 lskypro 2.0版本的 安装失败.

https://www.himiku.com/archives/docker-with-lsky-pro.html

继续失败.php8.0版本以上才行.

官方下载稳当1.6.4 失败.

https://github.com/lsky-org/lsky-pro/releases

官方各种版本.

https://www.kancloud.cn/wispx/lsky-pro/880044

官方安装手册.发现失败原因.

因 Lsky Pro 需要使用 rewrite 重写 url,所以不支持虚拟主机安装。

Lsky Pro 安装全程可视化页面,只需要下载程序解压到 web 站点目录,访问首页会自动跳转到安装页面,根据提示操作即可,具体步骤:

  1. 下载兰空,上传至 web 运行环境,解压。
  2. 设置运行目录为 public。
  3. 配置 Rewrite 规则:Nginx:location / { if (!-e $request_filename) { rewrite ^(.*)$ /index.php?s=$1 last; break; } } Apache:Apache直接使用.htaccess即可
  4. 访问首页,未安装自动跳转至安装页面,根据页面提示安装即可。
  5. 安装完成以后请设置runtime目录 0755 权限,如果你使用本地存储,public 目录也需要设置为 0755 权限

1.6.0 版本开始, 不再支持修改网站运行目录

想起了mt博客也是重写 静态重写.原理没有研究过.记住个名词.

最后的希望.

https://blog.csdn.net/wbsu2004/article/details/118555096

开源的兰空图床LskyPro

https://registry.hub.docker.com/r/wbsu2003/lskypro/

配置环境相同.还有docker.希望能成功.正在下载.

之前chevereto图床 死活连不上picgo.github的图床可以.gitee的图床也可以的.

https://www.imagehub.cc 的免费图床也可以的.就是自建的不行.frp的问题也不是.升级了chevereto1.4.1到1.6.2版本还是不行.放弃.